Guide
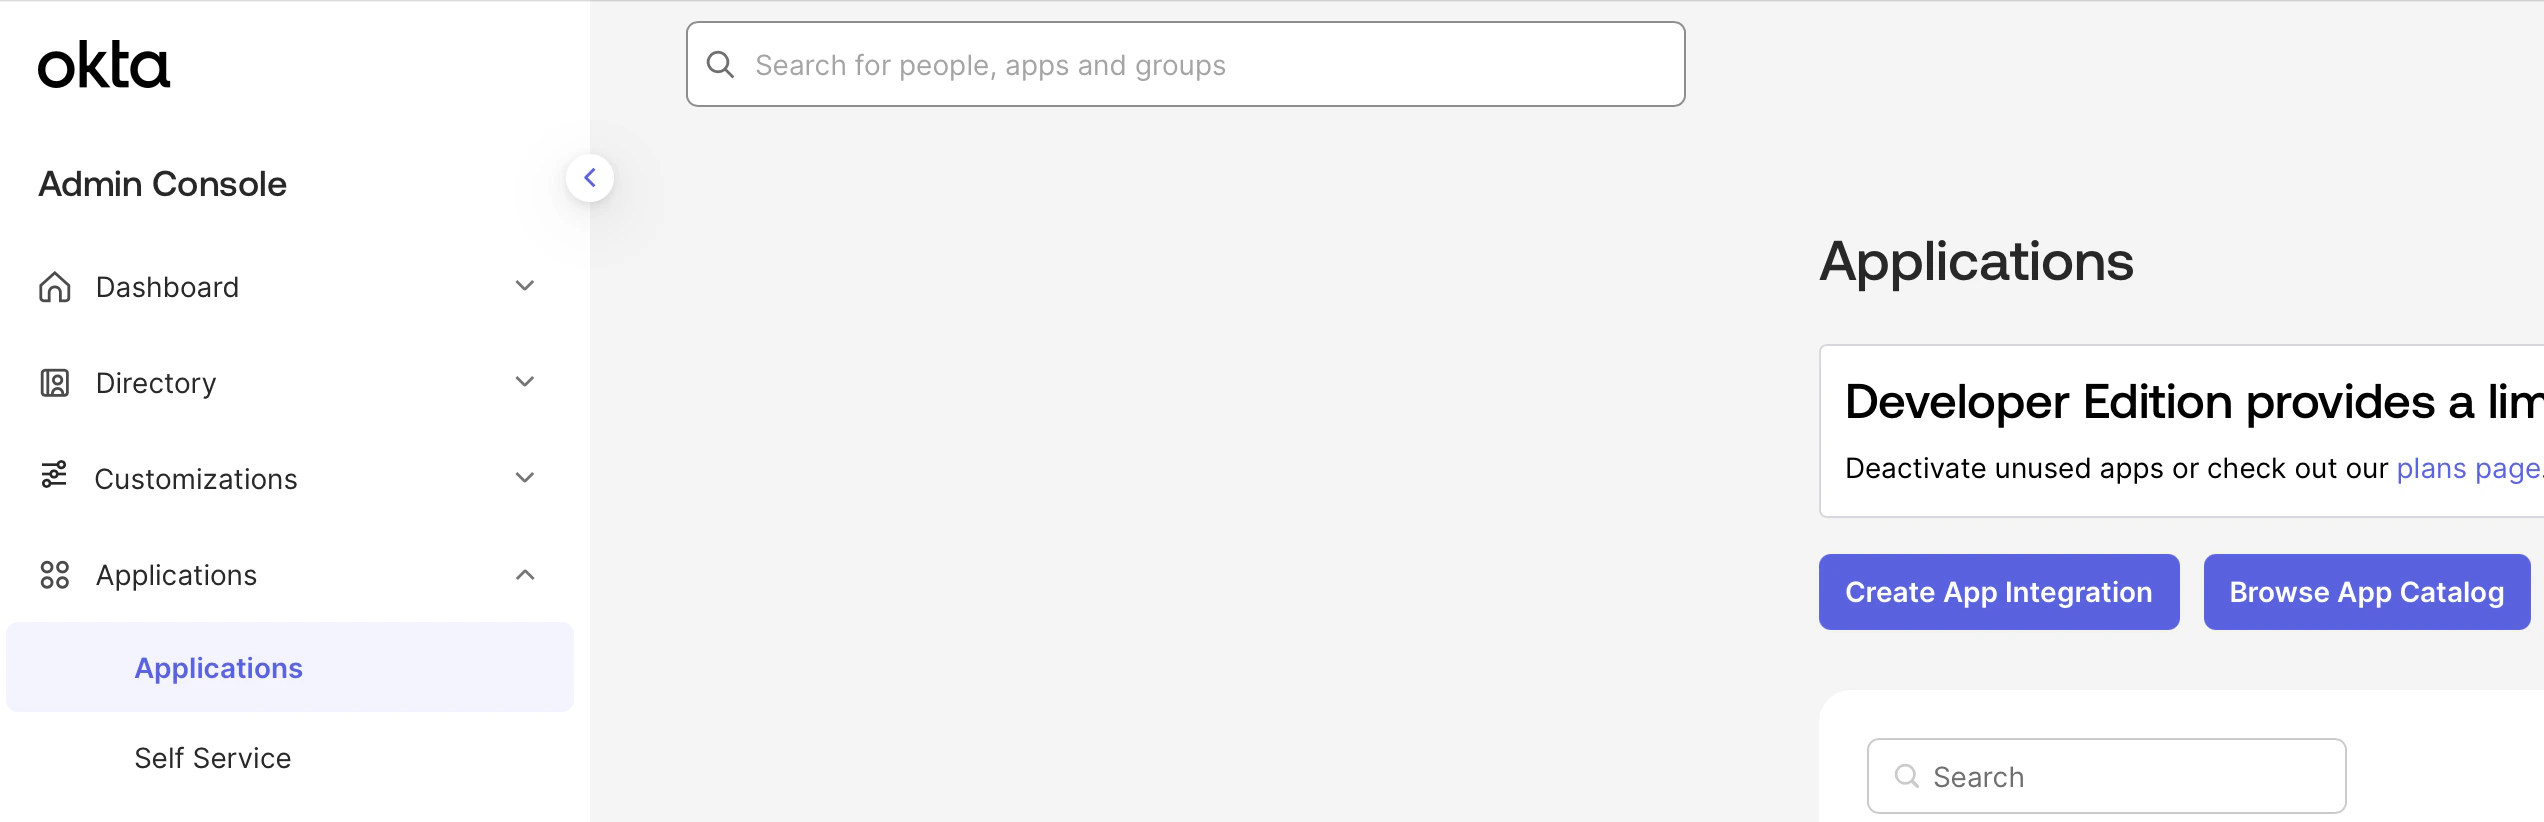
Configure Okta Application
Select OIDC and Web Application.Name your application Determine whether all users or select groups may access Onyx or skip this step and assign users later.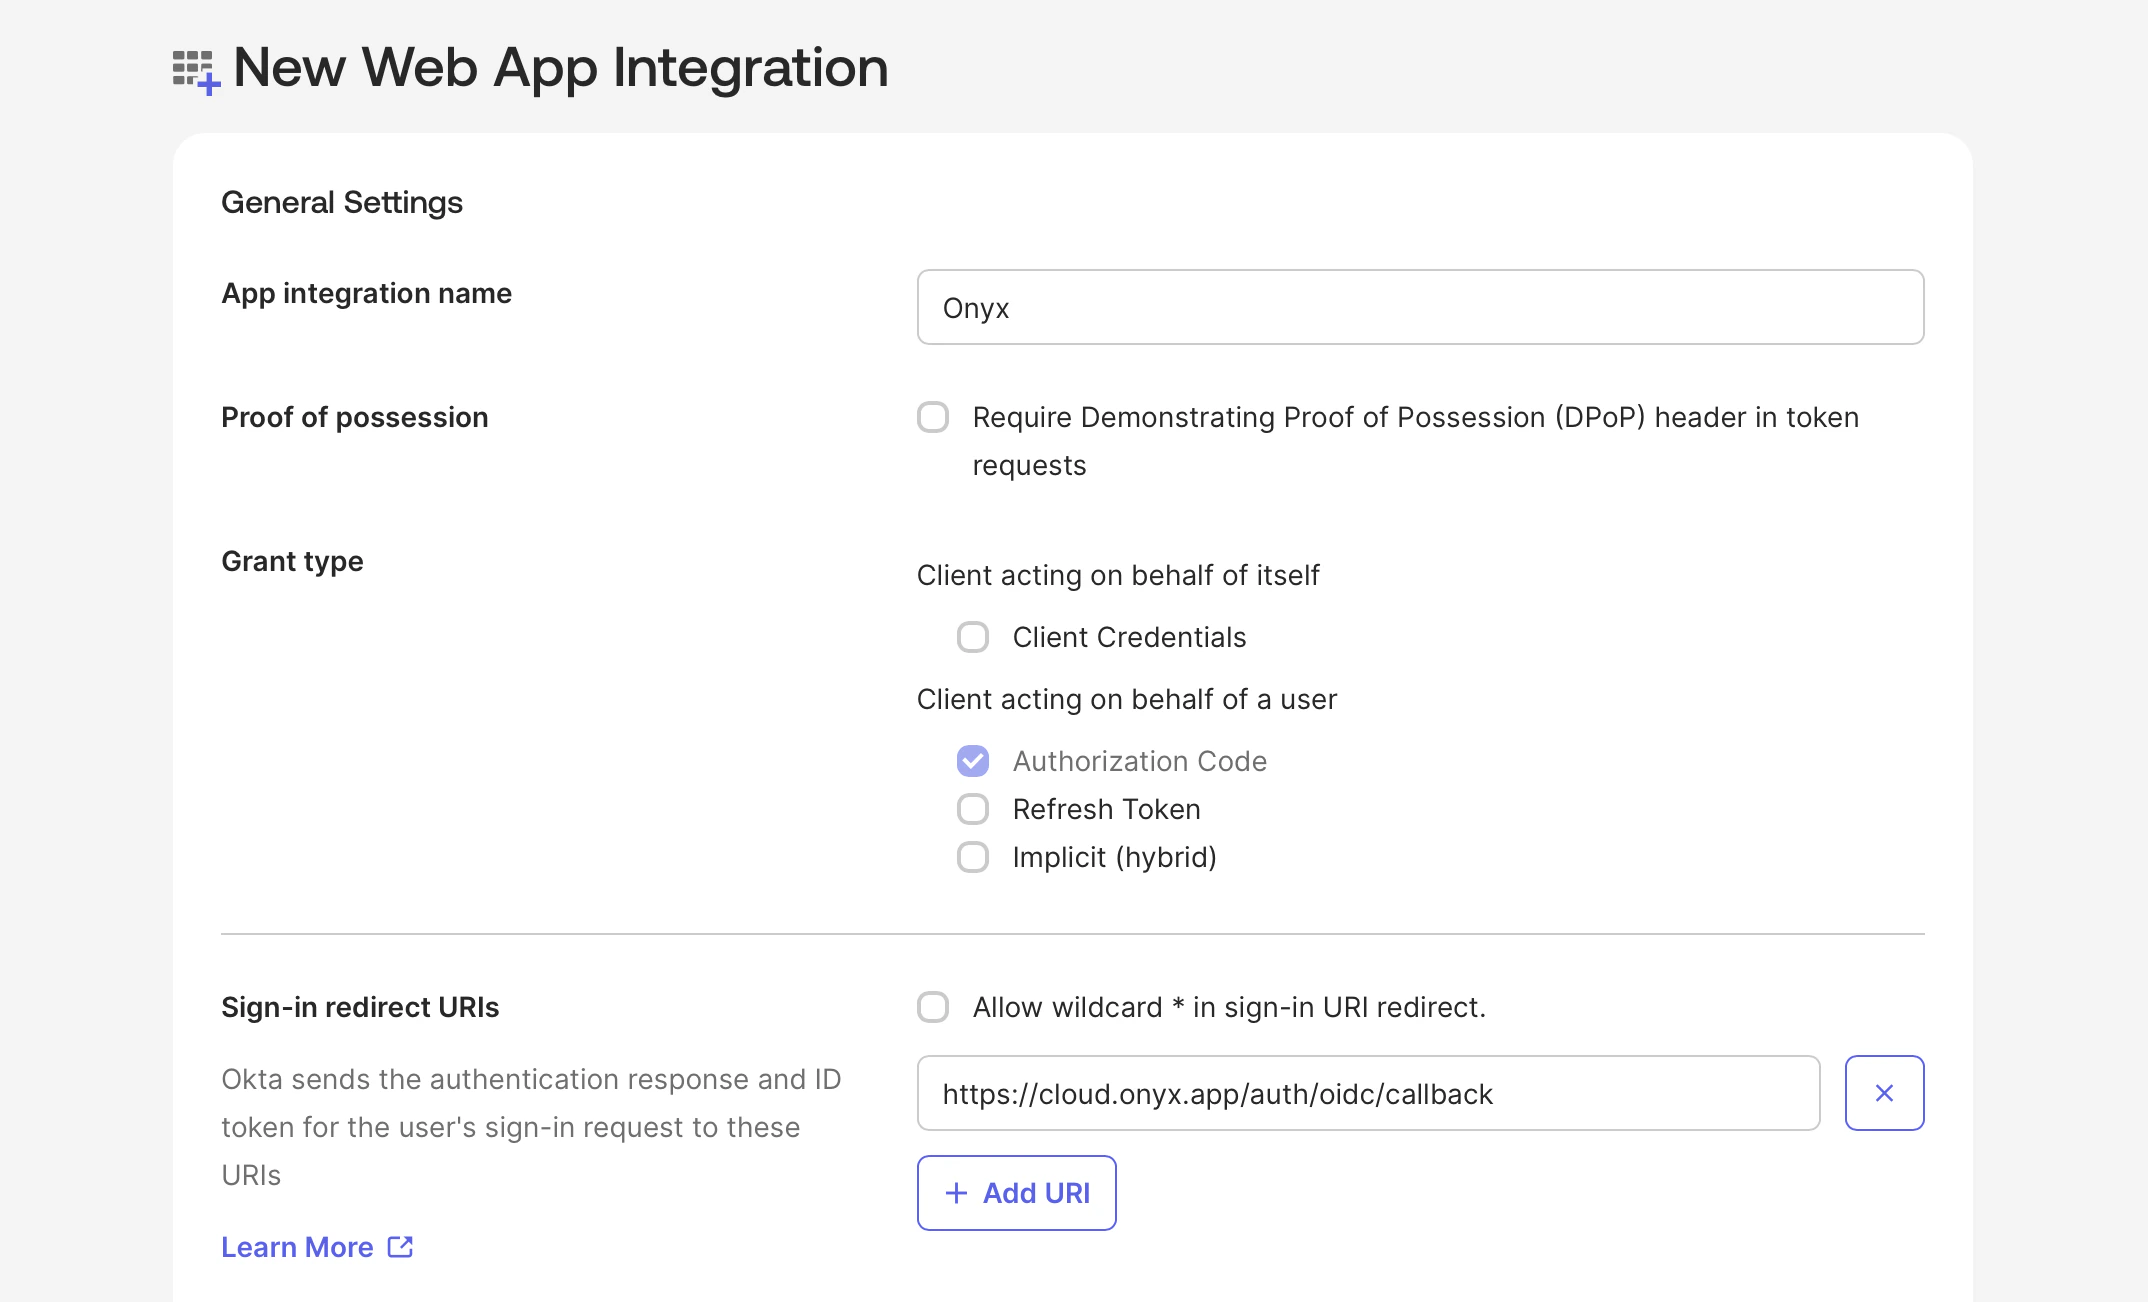
Onyx.Add a Sign-in redirect URISave OIDC Credentials
Create the new Application and save the Client ID and Client Secret.Also note your Okta Base URL in the format of 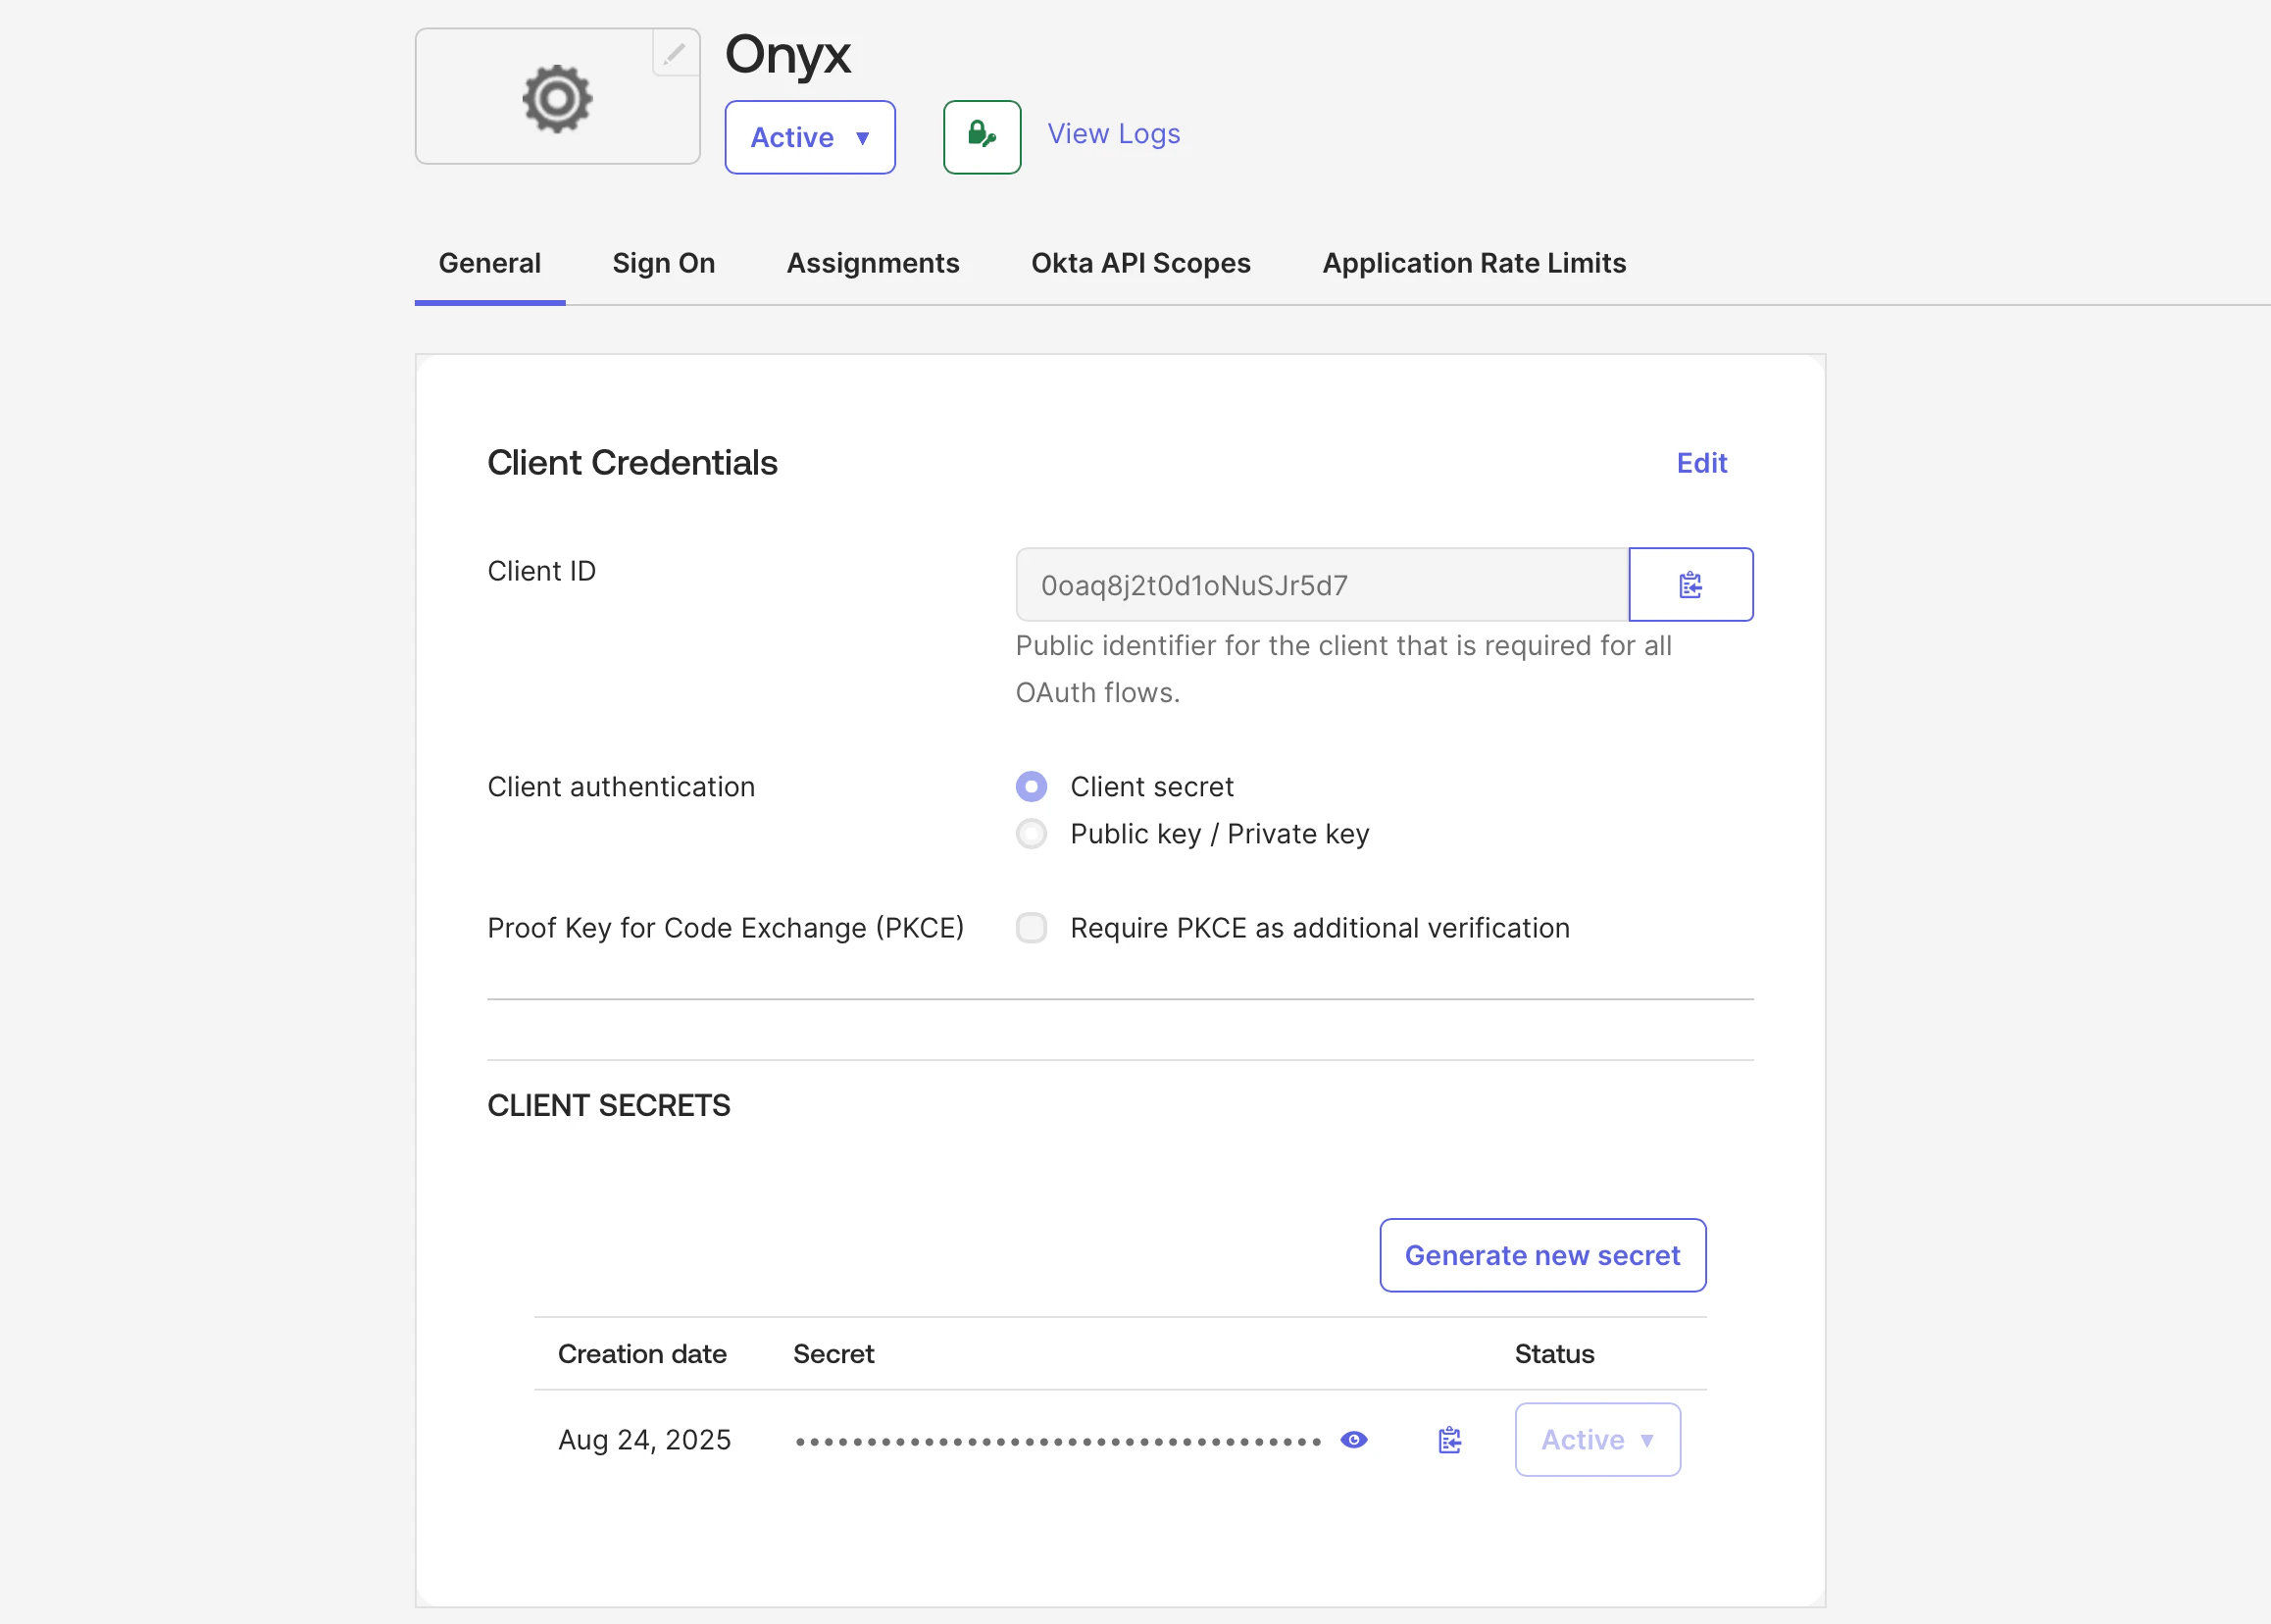
https://<YOUR_ORG_NAME>.okta.com.After saving your application,
you can upload the Onyx logo or your white-labeled logo by clicking the gear icon next to the app title Onyx
Configure Onyx for OIDC
Configure Onyx with the following environment variables in your
.env or values.yaml file (Docker and Kubernetes,
respectively)..env
If you’re using Docker but don’t have a
.env file,
copy onyx/deployment/docker_compose/env.prod.template to a new .env file in the same directory.values.yaml